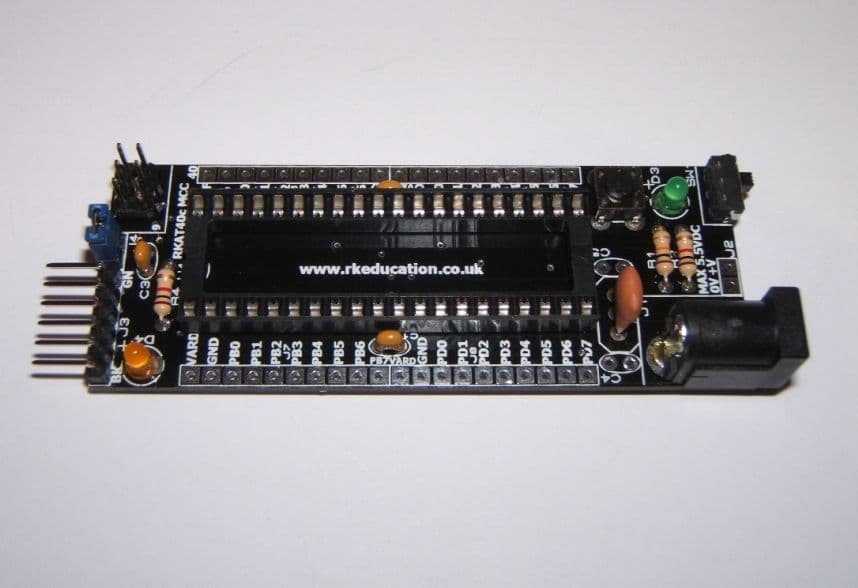
This next board combines an Atmega chip which you have to supply and a easy to build minimal system board with parts.
The board is easy to assemble as it features only through hole parts and no smd parts
Features
- Software is downloaded from a PC into the microcontroller from an Atmel AVR programmer or a FTDI USB cable
- The clock reference can be either a ceramic resonator or crystal oscillator
- All input and output pins are available via pin headers – you need to supply your own
- Power supplied via either a DC socket or there is a 2 way header, the maximum input voltage is 5.5V DC max
- Power can also be supplied from the FTDI cable connection, there is a 2 way header plug to select USB power
- Power switch and LED power indicator
There are 2 methods of programming using this board
1) Software can be downloaded using a USB FTDI cable that connects from one of your PC USB port and to header J3.
2) Using an AVR programmer or equivalent, connect this to the ICSP 2×3 way header.
I soldered the resistors first, then the capacitors, switch, led, headers and then the socket
I have used an Atmega16 and an ATmega32 with this board
Schematic
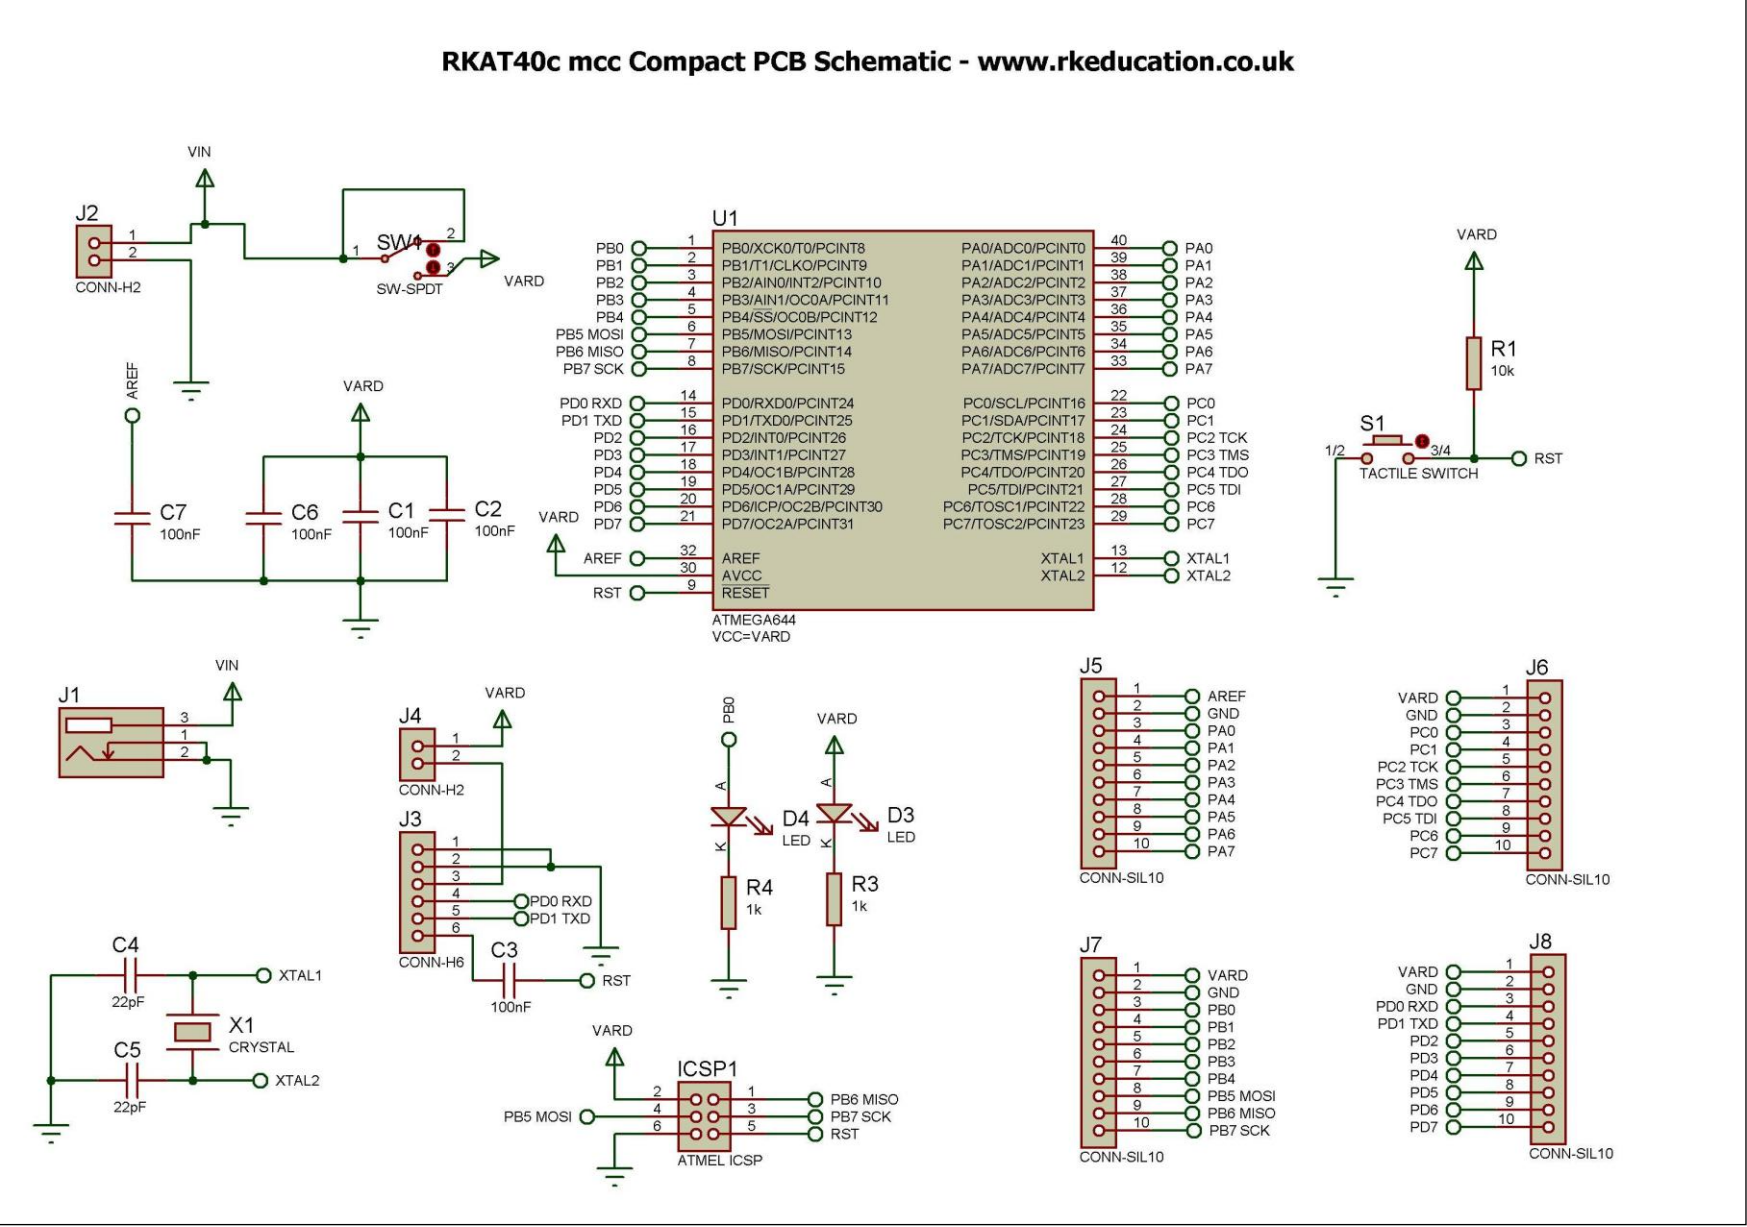
rkat40c schematic
Purchase
| Rk Education RKAT40c mcc Compact Project PCB : from Amazon UK – £5.99 |
Links
You can get the board for only £3.99 from Rkeducation directly in the UK
Rkeducation link
RKAT40c MCC Component List and Instructions
RKAT40 Component List and Instructions